
This post contains affiliate links, meaning I may earn a commission at no extra cost to you if you make a purchase. As an Amazon Associate, I earn from qualifying purchases
- Discover playful, colorful, and mind-blowing ways to make your Easter eggs stand out this year!
- Design Highlights
- Bright and Bold Colors for Eye-Popping Eggs
- Funny Faces and Crazy Characters on Your Eggs
- Glitter, Gems, and Sparkles for Magical Eggs
- Nature-Inspired and Eco-Friendly Easter Eggs
- Frequently Asked Questions
- Conclusions
Discover playful, colorful, and mind-blowing ways to make your Easter eggs stand out this year!
Did you know that Americans spend millions on Easter egg decorating every year? It’s true! But did you also know that there are ways to turn simple eggs into art masterpieces or funny surprises? Whether you’re into bright colors, funny faces, or glitter galore, this guide is packed with easter egg decorating ideas that will make your holiday unforgettable. Get ready to unlock your creativity, learn some tricks of the trade, and have oodles of fun. Grab your supplies, and let’s hop into the world of egg decorating adventures that will wow your family and friends!
Design Highlights
- Create eye-popping, vibrant colored eggs with simple dyeing techniques.
- Make your eggs funny and full of personality with silly faces and characters.
- Add sparkle and shine using glitter, gemstones, and metallic paints for a magical touch.
- Use natural dyes and plant materials to make eco-friendly, earthy eggs.
- Most importantly, have fun, experiment, and let your imagination run wild!
Bright and Bold Colors for Eye-Popping Eggs
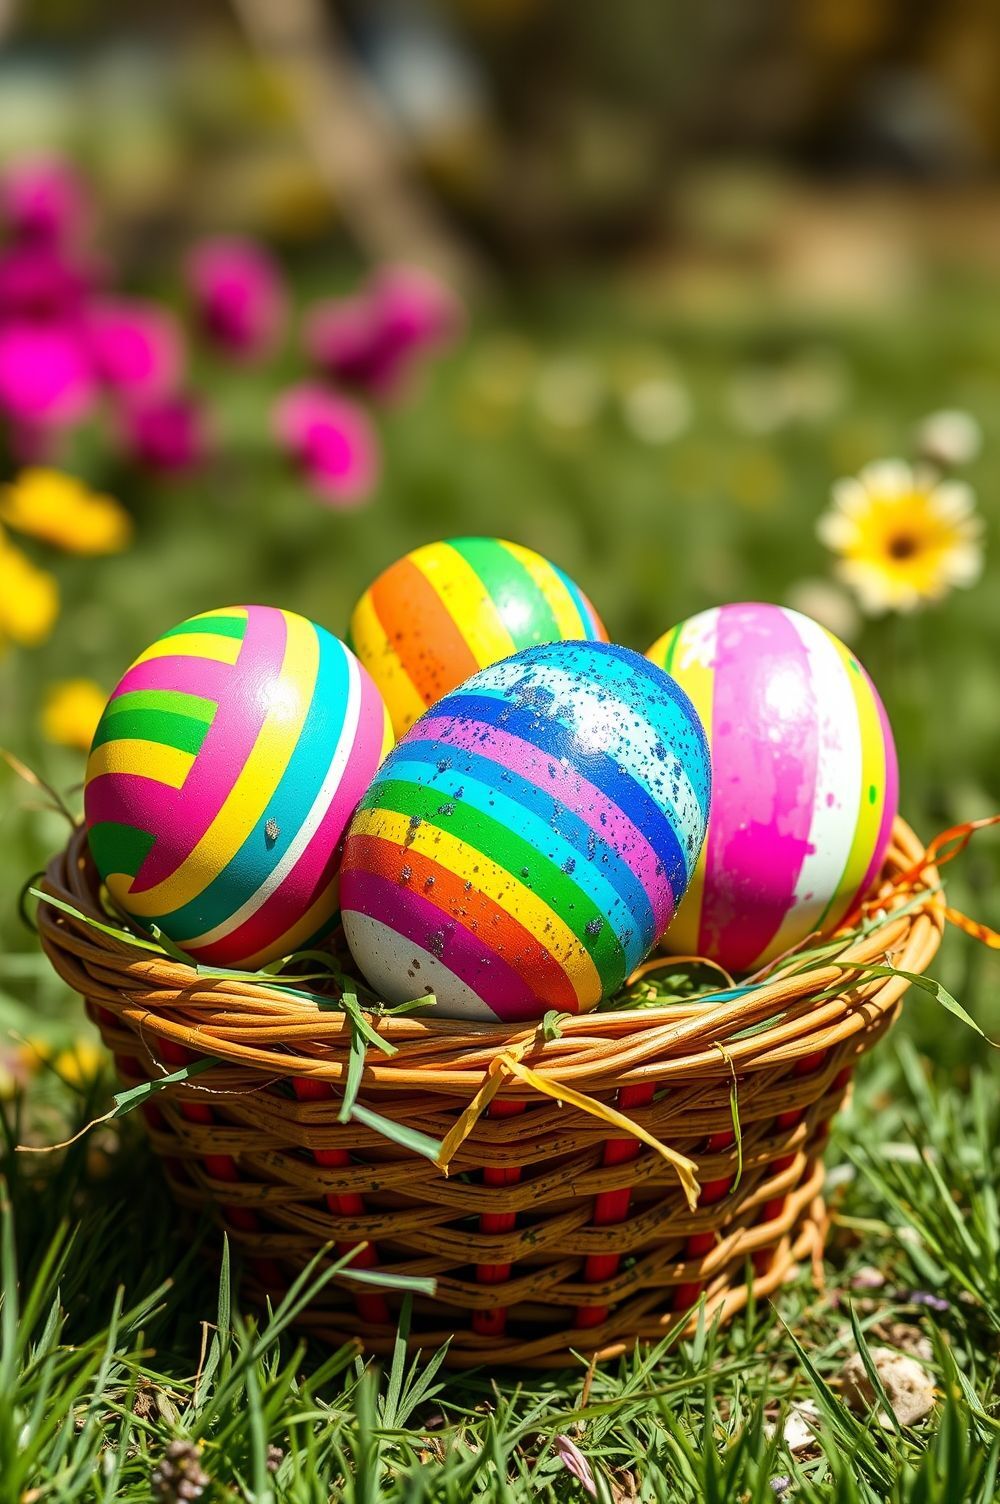
Imagine the excitement on your face as you dip your plain white egg into a bowl bursting with rich, bold color, waiting just a few seconds before pulling it out to see a dazzling transformation. With a little help from easy dyeing techniques, you can turn eggs into works of art that are as vibrant as your wildest ideas! When you’re mixing your colors, try adding a few more drops of food coloring or let your egg sit for a little longer in the dye to get a deeper, brighter look. Don’t be afraid to swirl the egg halfway in one color and the other half in something totally different—before you know it, you’ve made a pattern that pops unlike any other.
Ready to turn up the creativity even more? Grab some tape or stickers to make stencils, so when you peel them off after dyeing, you’re left with surprising shapes and cool designs. If you feel adventurous, slowly roll your egg through two or three dyes while gently tilting it, creating layered effects that look like magical sunsets or swirling oceans. Neon and metallic dyes are especially fun, giving your eggs an electrifying glow or a shiny finish that sparkles when the light hits just right. It’s a great way to make each egg stand out in your basket, especially if you sprinkle on a touch of glitter before the dye dries for a little extra sparkle.
Color mixing becomes even more fun when you play with watercolor effects! Try brushing a little vinegar and dye mixture onto the eggshell, blending two colors side-by-side. You might be surprised at how shades combine—yellow and blue become green, red and blue make purple, and there are endless combos to discover. Every drip, dip, and swirl is a chance to see something totally new. With a little patience and plenty of imagination, your Easter eggs will shine bright, making your display the envy of everyone who sees it.
Funny Faces and Crazy Characters on Your Eggs

Imagine picking up a simple egg and, with just a few fun supplies, turning it into something that makes everyone around you burst out laughing or smile with delight. That’s what happens when you decorate your Easter eggs with funny faces and zany characters! You start with a bare egg, but just add googly eyes, some bright markers, and maybe a few tiny hats or fuzzy pom-poms, and suddenly your egg comes to life. It might become a silly monster with a lopsided grin, a clown with a giant red nose, or even a friendly dog with floppy felt ears. The best part is, nothing is too silly or too wild—if you can dream it, you can create it!
Colorful markers let you draw cheerful smiles, squiggly eyebrows, and wild hair. If you want your egg to be a superhero, try wrapping a tiny piece of fabric for a cape and use a marker for a bold mask. Feeling extra creative? Add glasses made from pipe cleaners or turn a regular egg into a pirate by cutting a mini eyepatch from black paper and gluing it on. Maybe you’re inspired to create a whole team of characters—think disco dancers, wacky aliens, or even a group of circus performers. Each egg gets its own personality and story, and there’s no wrong way to do it.
As you play with ideas, let your imagination lead the way. Think about your favorite animals or the silliest cartoon characters you know. Then challenge yourself—can you turn an egg into a giggling penguin or a grumpy cat? Maybe a funny-faced robot with strips of aluminum foil for arms or a princess with a sparkling tiara. When you’re finished, line up your creations and see how they make people laugh and smile. Let your eggs reflect your unique style and the fun you had bringing them to life. These are more than eggs—they’re little masterpieces filled with laughter and personality!
Glitter, Gems, and Sparkles for Magical Eggs
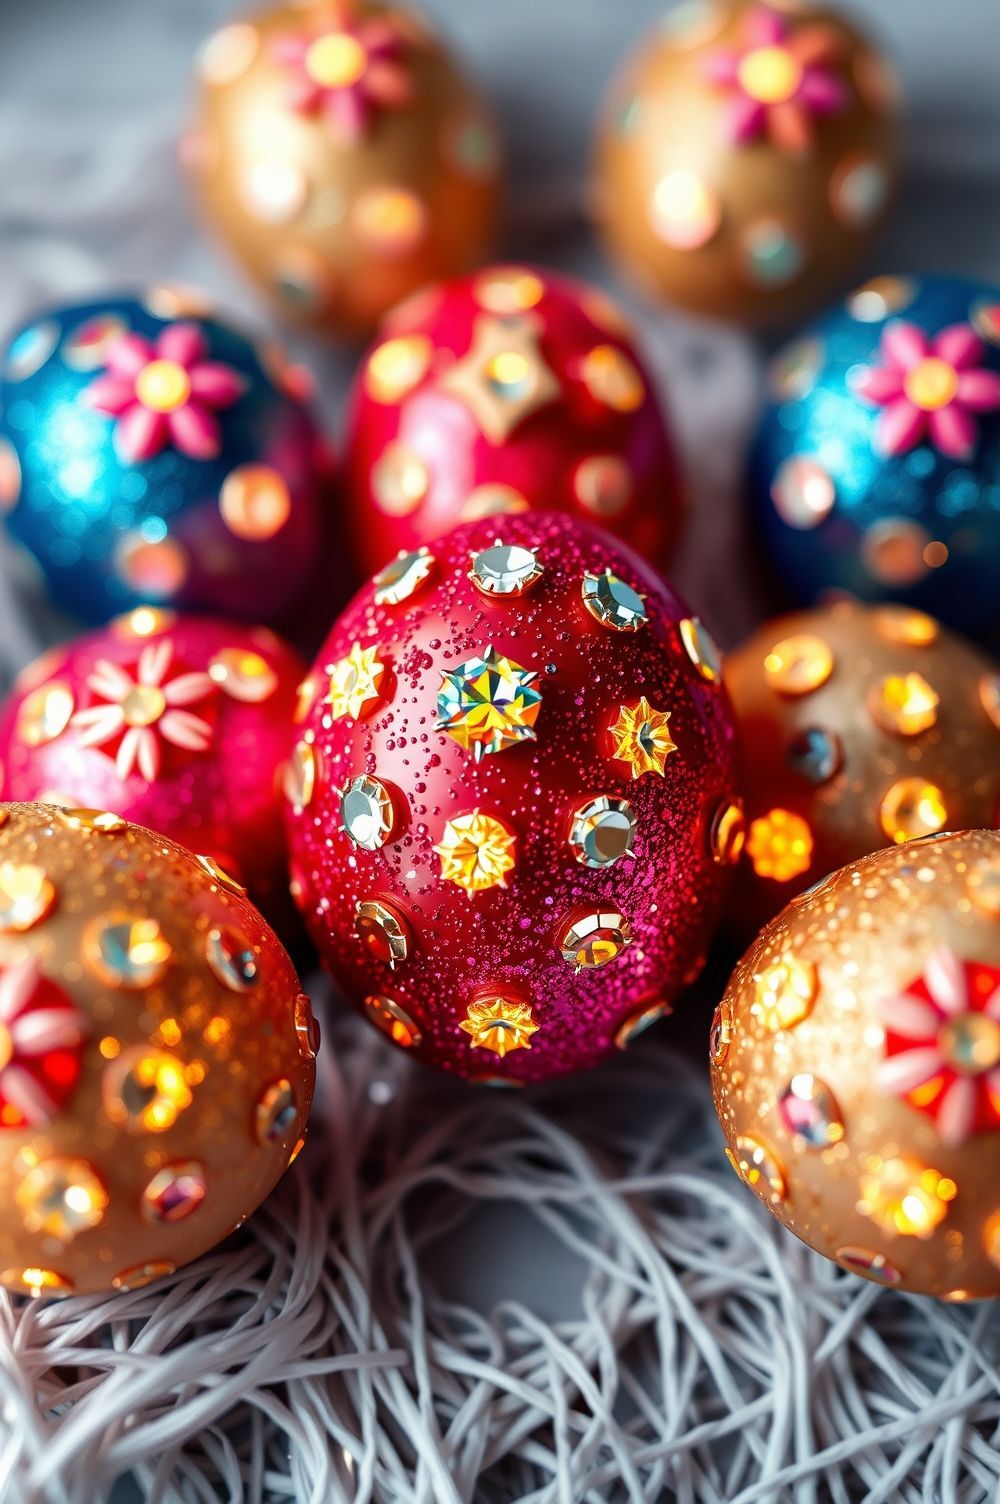
If you love all things shiny and magical, decorating your Easter eggs with glitter, gems, and sparkles is going to be your favorite way to create something truly enchanting. Imagine holding an egg that glimmers like it’s been sprinkled with fairy dust—every turn catches the light and makes the room feel a little more special. All you need is some glue, a bit of patience, and your imagination to get started on these one-of-a-kind treasures.
First, you’ll want to cover your eggs in a thin, even layer of glue or adhesive spray. If you want to keep things neat and avoid a glitter explosion in your kitchen, do this step over a tray or some old newspaper. While the glue is still sticky, gently sprinkle your favorite glitter on top. For a magical ombré effect, try using two or three colors of glitter, fading them softly into one another as you move from one end of the egg to the other. If you adore patterns, use stickers or painter’s tape to create shapes or stripes, then remove them after your glitter is set to see the sparkling designs underneath.
To dial up the dazzle, add small rhinestones or colorful craft gems with a dot of glue. Try making a ring of gems around the center, or give your egg a crown of sparkling stones at the top. If you’d like something even more spectacular, create polka dots of glue first, sprinkle glitter onto each dot, and you’ll end up with a playful, polka-dotted masterpiece. Touching these eggs makes you feel like you’re holding a little treasure from a fairy realm—something you’ll be proud to show off in your Easter basket or give as a sparkling gift. The best part? The shine stays on the egg, not on your hands or the table, so you get brilliance without the mess!
Nature-Inspired and Eco-Friendly Easter Eggs
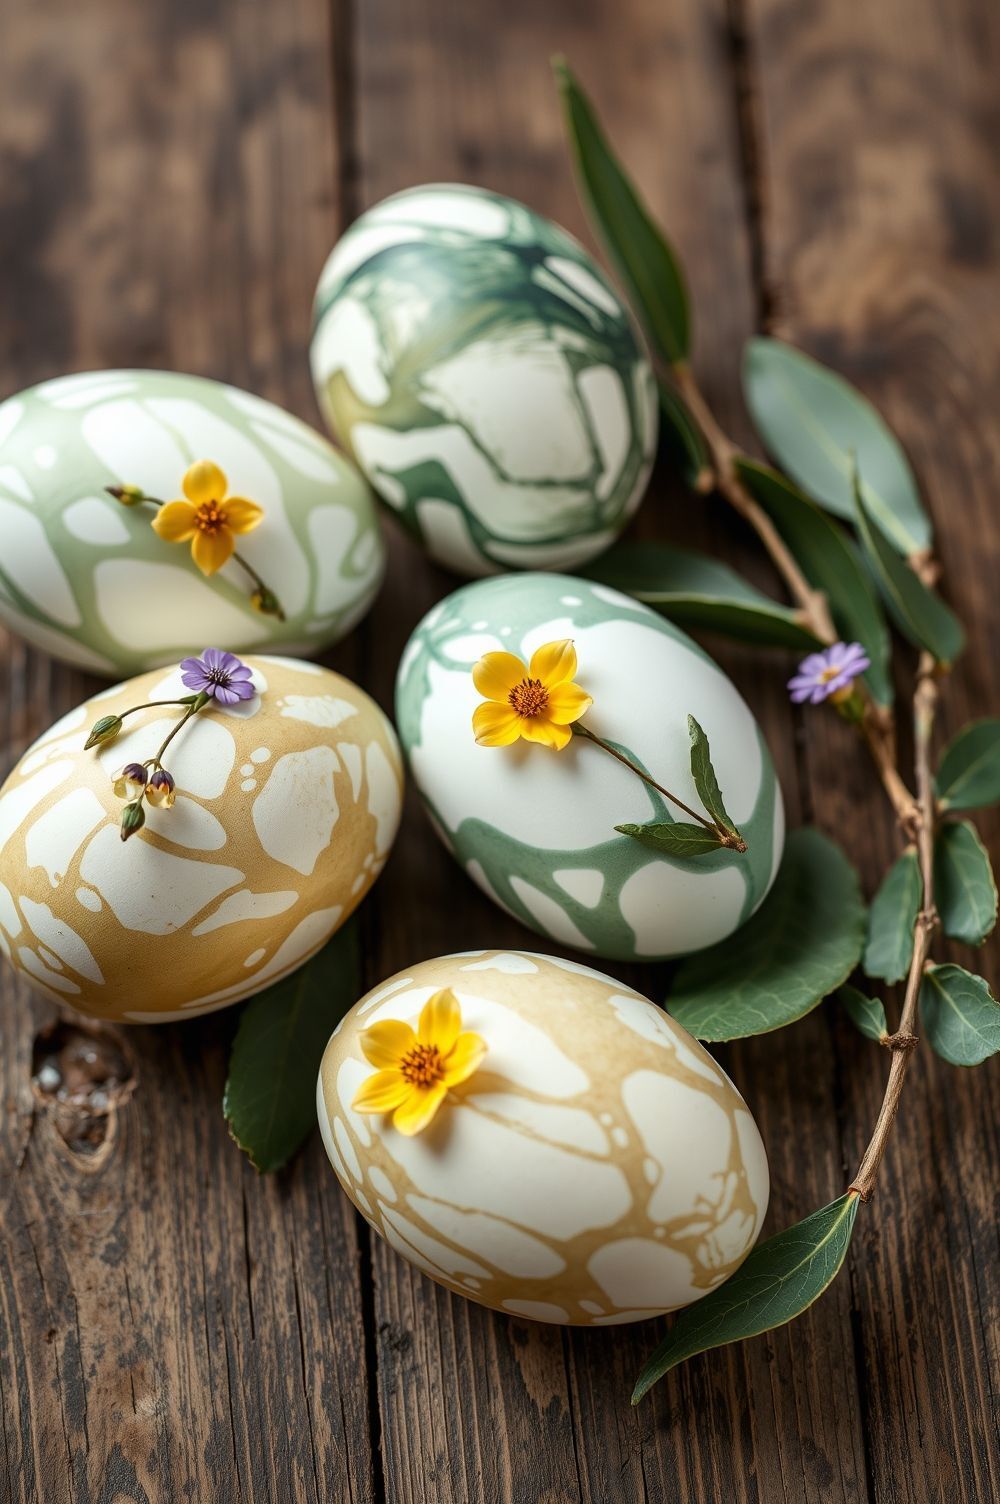
Imagine holding an egg that looks like it just rolled out of a magical garden! When you decorate your Easter eggs with nature-inspired and eco-friendly ideas, you’re not only making something beautiful—you’re also helping the planet. You can use things from your own kitchen or backyard, turning everyday items like onion skins, beet juice, or tea bags into amazing, natural dyes. It’s so cool to watch the eggs slowly change color, becoming soft yellows from turmeric, warm reds from onion skins, or gentle pinks from strawberries. Each egg comes out a little different, like it has its own secret story from nature.
Instead of just using regular paint, you might want to try creating leaf or flower imprints on your eggs. You simply pick a leaf or a tiny blossom, press it gently against the egg, and then wrap it with a soft piece of cloth, like an old sock or thin fabric. After simmering it in natural dye, you’ll unwrap the egg and see the outline of the leaf or flower—like a little piece of spring frozen right on the shell. These patterns can look surprising and artistic, and it feels special because you chose each piece of nature yourself.
What makes these ideas extra fun is that you don’t need fancy tools or complicated steps. With just water, a pot, and a few bits of nature, you and your family can create eggs that look earthy, unique, and gorgeous. If you care about using less plastic and more planet-friendly options, this way of decorating can make you proud of what you’ve made. Best of all, even your youngest siblings or friends can join in, helping to wrap eggs, pick out leaves, or stir the dyes. Every egg becomes a tiny treasure—one that celebrates both your creativity and your love for the earth.
Frequently Asked Questions
What are some easy ways to decorate Easter eggs?
You can dye them with food coloring, use markers and stickers, or even wrap them in rubber bands for cool patterns. Glitter and stickers are also simple and fun options for quick decorations.
How do I make my Easter eggs last longer?
Keep your decorated eggs in the fridge, especially if they are raw. If they are hard-boiled, store them in an airtight container. Using waterproof and permanent markers helps prevent smudging.
Can I decorate eggs naturally?
Absolutely! You can use natural dyes made from beets, turmeric, onion skins, or avocado pits. These give a lovely, earthy color and are safe and eco-friendly.
Conclusions
Getting creative with Easter egg decorating is one of the most fun ways to celebrate spring and make your holiday memorable. From vibrant, colorful eggs to funny characters and glittery treasures, you can turn simple eggs into art that reflects your personality and imagination. Whether you prefer natural dyes or loud, sparkling designs, the key is to have fun and experiment. Remember, the best eggs are those that make you smile and surprise everyone who sees them. So, gather your supplies, invite your friends or family, and start creating your own unique Easter masterpieces. Happy decorating and Happy Easter!

